


When it comes to ‘70s trends, what first comes to mind is high-waisted flares, peasant bow blouses, vintage heels, etc., but there’s one texture that’s quickly surpassing these trends in popularity: crochet! Once popular in the ‘70s, crochet is making a comeback in fashion this year. From chunky sweaters to lacy blouses, the medium is a fun and exciting way to dress up and express yourself. While I have crocheted for a while, I’ve always been inspired by the handmade pieces of clothing my aunt makes me. Today, I’ll delve into my process of crocheting a shirt and share a bit of what I’ve learned over the years!


Rong Sun | photography

Made in eighth grade, I designed this first crochet shirt off of a sweater that my aunt gifted me. Fascinated by the lace pattern she decorated the top with, I spent around a week trying to replicate it - I still have leftover swatches, or prototypes, in my yarn basket.
To knit or crochet is to shape a strand of yarn into something with function and form, a process that is extremely creative and personal :). Crocheting a shirt may seem like a daunting task at first, but don’t be discouraged! Most patterns only call for basic stitches - chains, single crochets, and double crochets - and the end product is highly customizable.


Worked entirely in the round, this pattern is beginner friendly and has a matching front and back side. It takes eight to ten hours to complete, depending on how large your yarn and hook are. While the pattern calls for basic stitches, it is highly customizable - treat it like a blank slate to add textures, colors, and shaping! From solely a hook and yarn, a world of creation is at your hands, and each basic stitch serves as a common denominator for you to craft whatever you want.
Rong Sun | photography

This pattern has a Beginner skill level, and I made it with a 3.5-mm hook and an acrylic, DK-weighted yarn. Feel free to use a larger size hook and yarn for larger stitches, or a smaller size hook and yarn for a more refined look. As for abbreviations, ch stands for chain, sc stands for single crochet, and dc stands for double crochet. The total number of repeats for each stitch or series of stitches is written in parenthesis ().

Row 1: Foundation Chain - ch 157 (for a larger size, chain in multiples of 7 + 3, e.g. 164, 171, or 179 chains). Slip stitch into first chain to complete a full circle.
Row 2: ch 3, dc in next stitch, dc 153
Rows 3-16: Repeat row 2 until the body reaches your upper chest
Fasten off, leaving a tail of yarn (approximately twice as long as your foundation chain).


Eileen Chen | photography
Row 1: Foundation Chain - ch 123 (for a larger size, chain in multiples of 12 + 3, eg 111, 115, or 119 chains). Slip stitch into first chain to complete a full circle.
Row 2: dc 4, ch 1, dc 4, ch 1, dc 4, ch 1 (Repeat 10x)
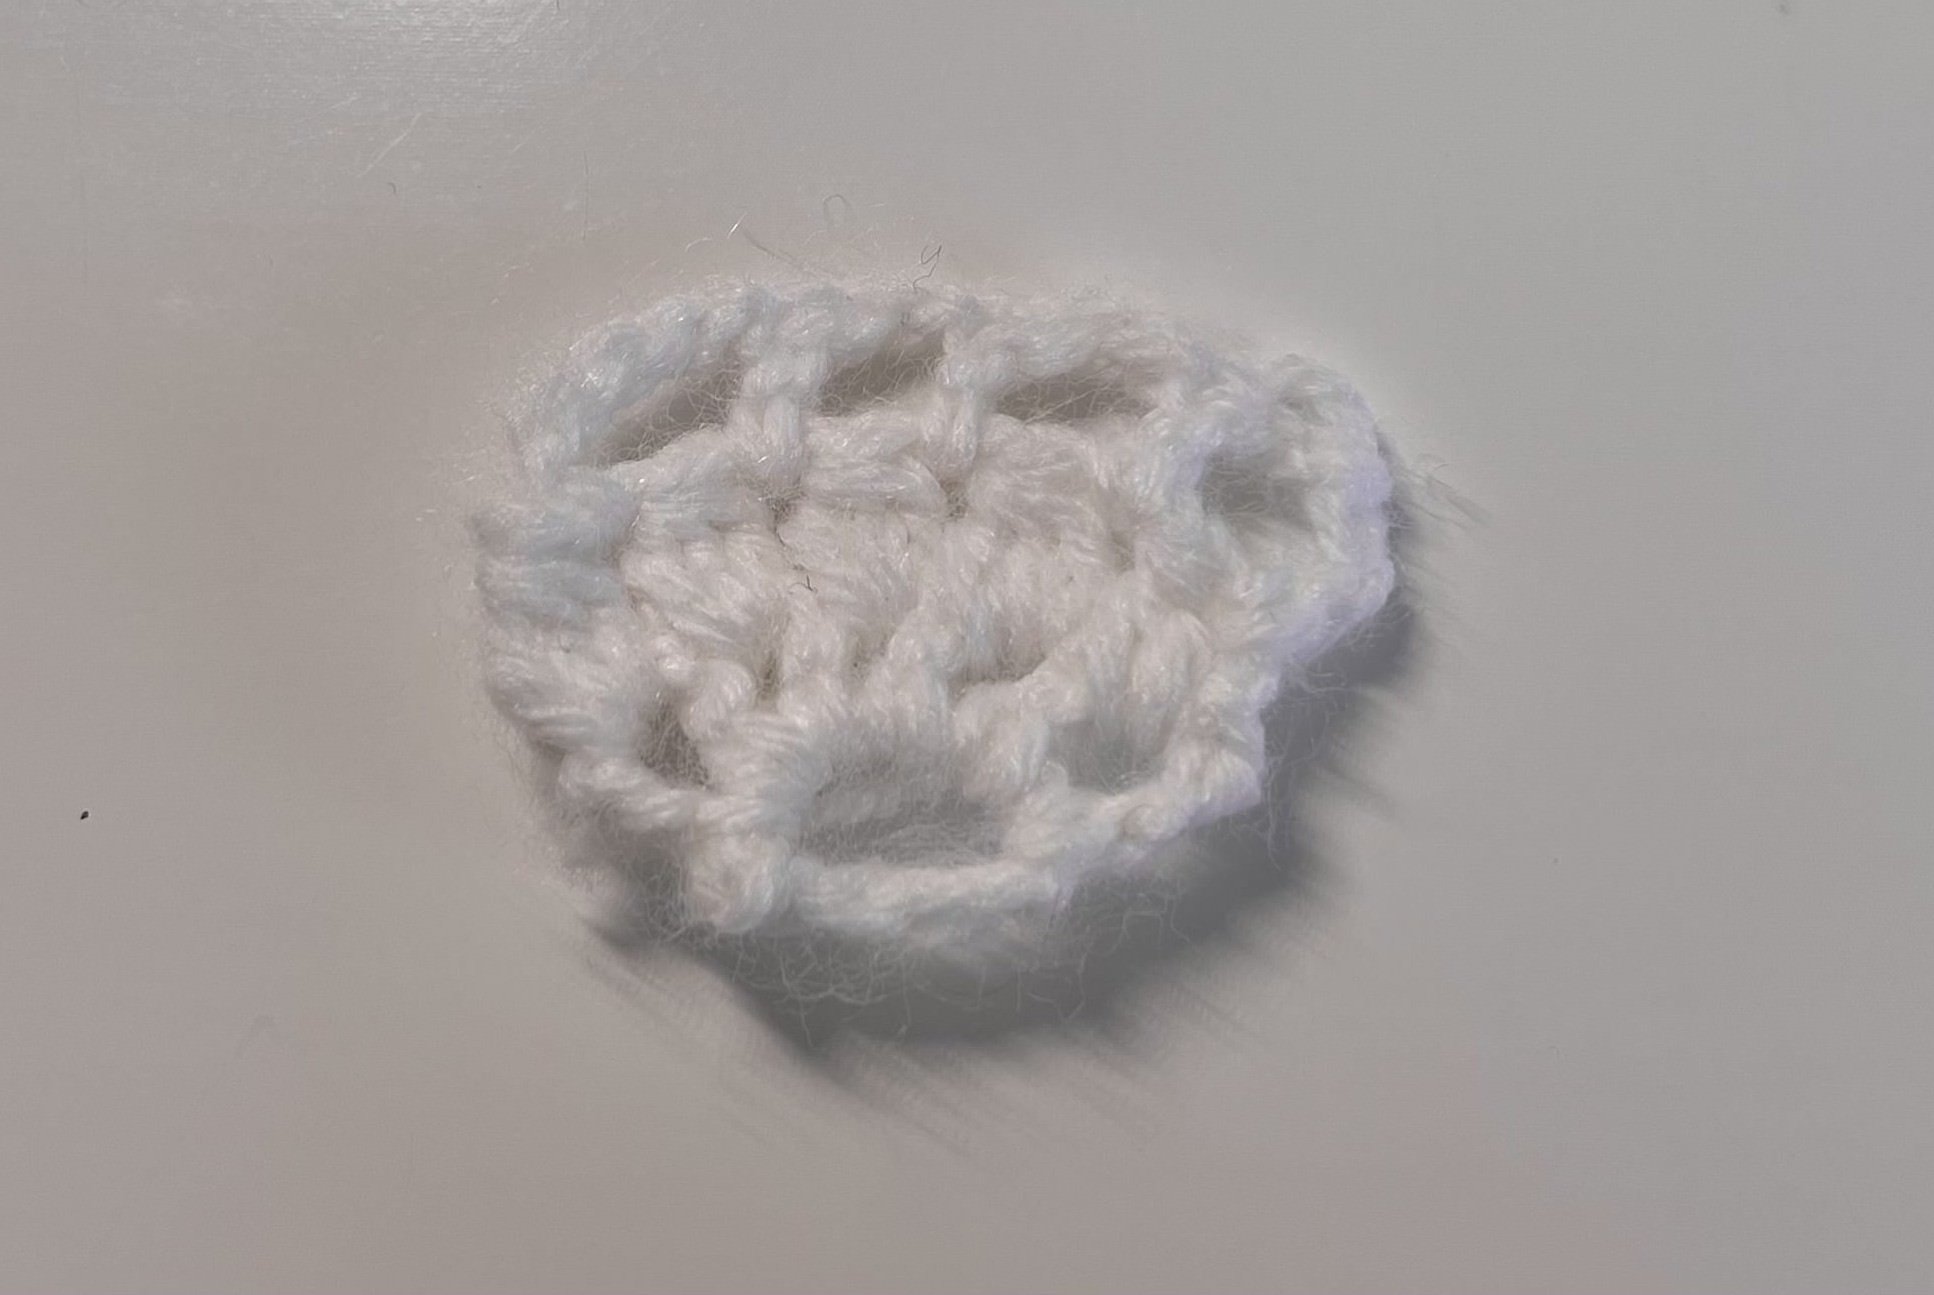
Row 3: slip stitch into first chain space. 3 dc-cluster, ch (Repeat 6x) into each chain space.
Row 4: ch 5, dc, ch2, dc, ch2, dc, ch2, dc (Repeat 29x)
Rows 5-8: Repeat rows 1-4 until the collar reaches down to your lower chest. The edge of the lace makes for a great, rounded sleeve.
Fasten off, leaving a tail of yarn to weave in at the end.

Line up the collar with the body, and with a darning needle or a smaller size hook, sew the ends of each panel together, leaving a space on both sides for the arms. For a more seamless look, sew with the long tail end left over from the body and sew through the back loops only! Try on the top as you sew to ensure that the dimensions are correct. As a finishing touch, you can add a border of single crochets along the top of the lace section.

Eileen Chen | photography


Eileen Chen | photography
I remember when I first met crochet fashion in my seventh grade summer; with only yarn scraps and a hasty idea in my head, it didn’t go well at first. However, after experimenting with the craft for a couple days, I discovered a new hobby. While I have been able to design clothes of my own liking, I have also been able to create pieces for friends and family out of scratch. Crochet as a craft is now an integral part of my artistic process - it has taught me patience, focus, and persistence, and it has also taught me that I can create anything with my own hands :).
Web Page Design by EILEEN CHEN